Getting Started with Laravel: Installation and First App

Currently, web developers are racing to adopt the latest technologies, with a strong focus on Next.js and React. I recently embarked on a project that required the use of Laravel, a renowned PHP framework for backend development. Instead of diving into the familiar waters of React, I decided to take the path less travelled and explore the world of Livewire as the front-end technology, seamlessly integrated with Laravel on the backend. In this guide, I'll walk you through the steps to set up Laravel on your local development environment using XAMPP and Composer. By the end of this tutorial, you'll have your first Laravel application up and running.
This setup is entirely focused on Windows.
What you gonna need
Download the XAMPP Installation File

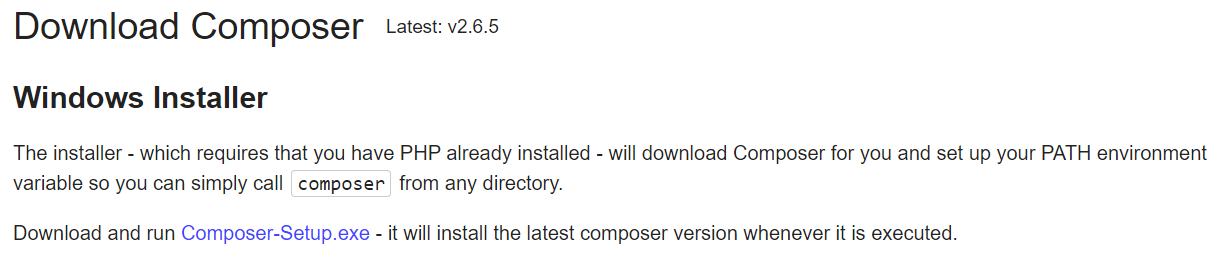
Download the Composer installation file
Instaling the XAMPP
To kickstart the project on your Windows system, the first step we'll need to take is setting up XAMPP. By doing this, we'll ensure that we have all the essentials required by the project, including PHP, MySQL, and the Apache server.
Section 1: Setting Up XAMPP
XAMPP is a fantastic, user-friendly, and Windows-compatible web server solution that simplifies Laravel development by bundling Apache, MySQL, PHP, and more. Here's how to get started with XAMPP:
Download XAMPP: Navigate to the XAMPP download page and select the version specifically designed for Windows. I am using the 8.2.4 / PHP 8.2.4 version because why not 😂
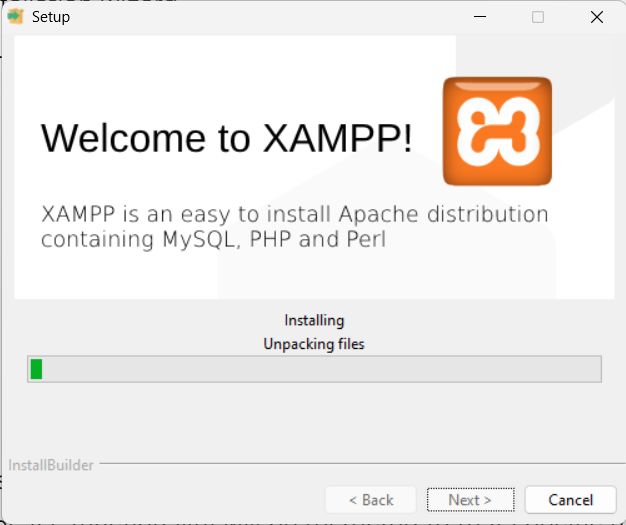
Install XAMPP: For Windows users, simply run the installer and follow the easy installation wizard.
you might get a warning like this
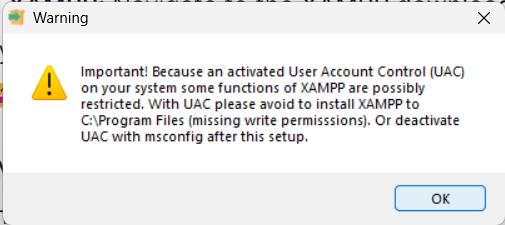
this is because your system has multiple users and if you install this on a certain user, its functionality will be restricted to that specific user. (I am installing this as my admin user, so ignore this warning ) and finish the installation of XAMPP
After this enable the run-as-administrator option to the XAMPP control panel for the app to have the authority to start and stop services and use network ports of the system. Follow the steps given below to do that
Navigate to the XAMPP installation directory for me it was
C:\xamppFind the
xampp-controland open theproperties panelIn the
Compatibilitypanel make sure thatRun this program as an administratoroption is checked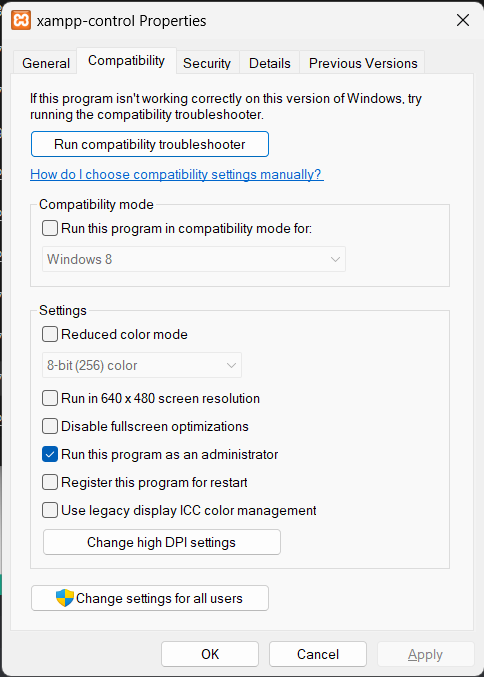
Start Apache and MySQL: Once XAMPP is installed, open the XAMPP Control Panel and initiate the Apache and MySQL services. This can be easily done through a user-friendly interface.
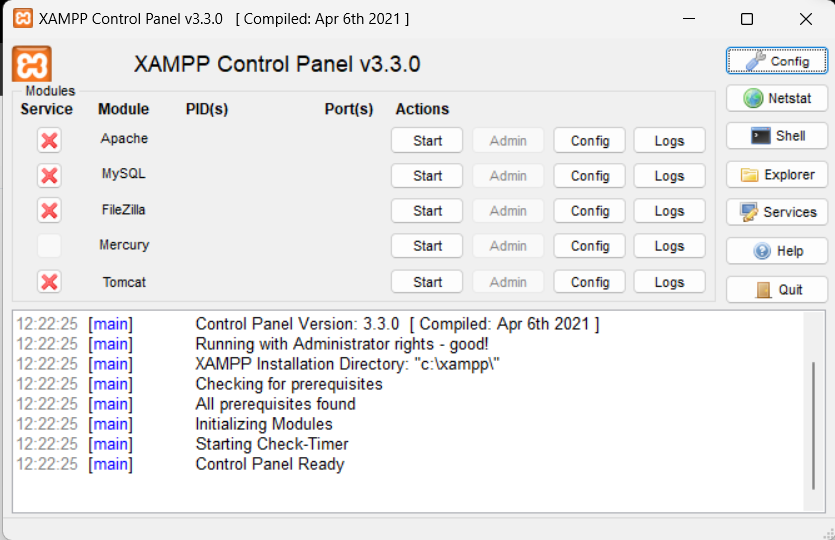
Click on all the cross icons and install Apache, MySQL and FileZilla services of XAMPP
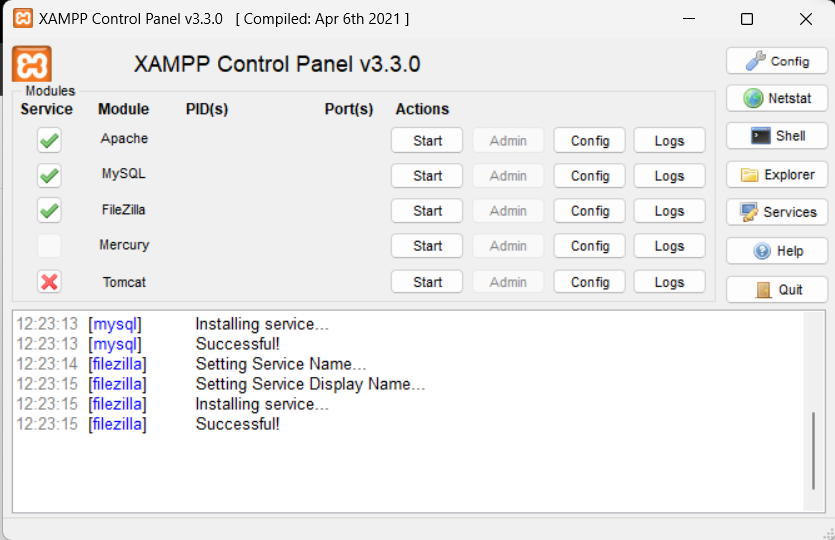
Start the services :

Section 2: Setting Up Composer
Composer is a powerful dependency manager for PHP that will be invaluable for our Laravel project. It is like the node package manager (npm) which Nodejs or javascript has. Let's go ahead and install it on your Windows system,
Download Composer: Download the Composer setup file from the Composer download page
Install Composer: Run the installation file, the installer should automatically pick up the XAMPP php compiler shown below:
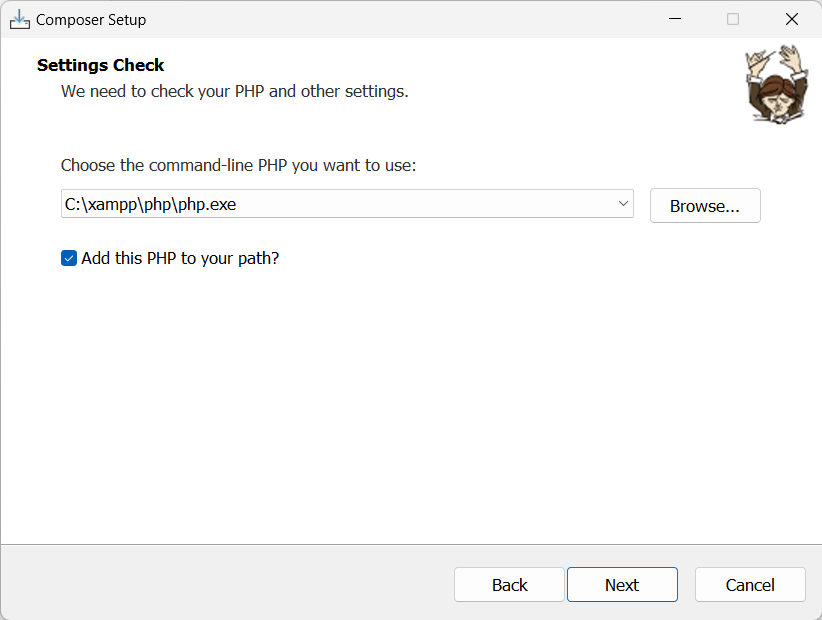
If the PHP compiler is not automatically picked up, click Browse and navigate to the XAMPP php.exe file.
check the Add this PHP to your path. checkbox to access the PHP compiler from the command prompt.
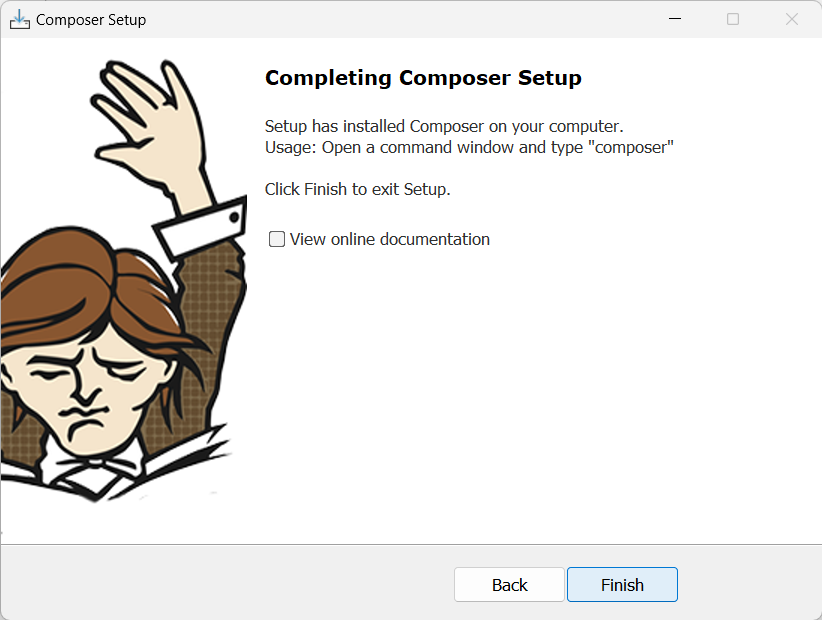
After that, the installation is pretty straightforward.
Session3: Installing Laravel and creating the first project
This is the final session where we install and start the first project using Laravel.
Before that there are some things that you need to do :
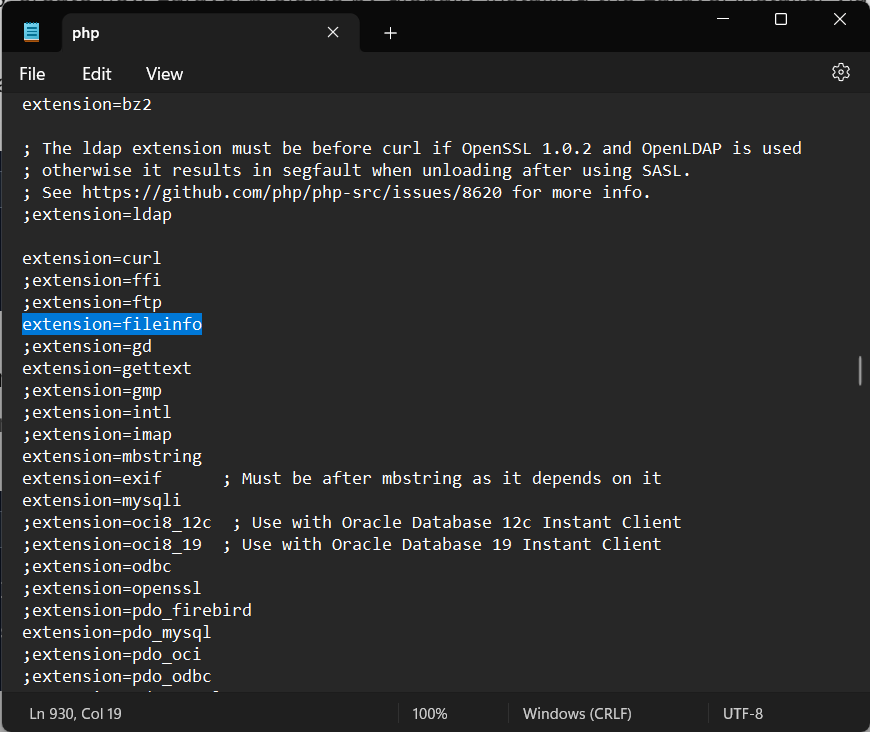
Open the
php.iniconfig (it has the spanner icon) file inC:\xampp\php(or wherever you installed the XAMPP )Enable the following extensions by removing the ';' (semicolon) before the line
    ;extension=zip
    ;extension=fileinfo
    ----- change to -----
    extension=zip
    extension=fileinfo
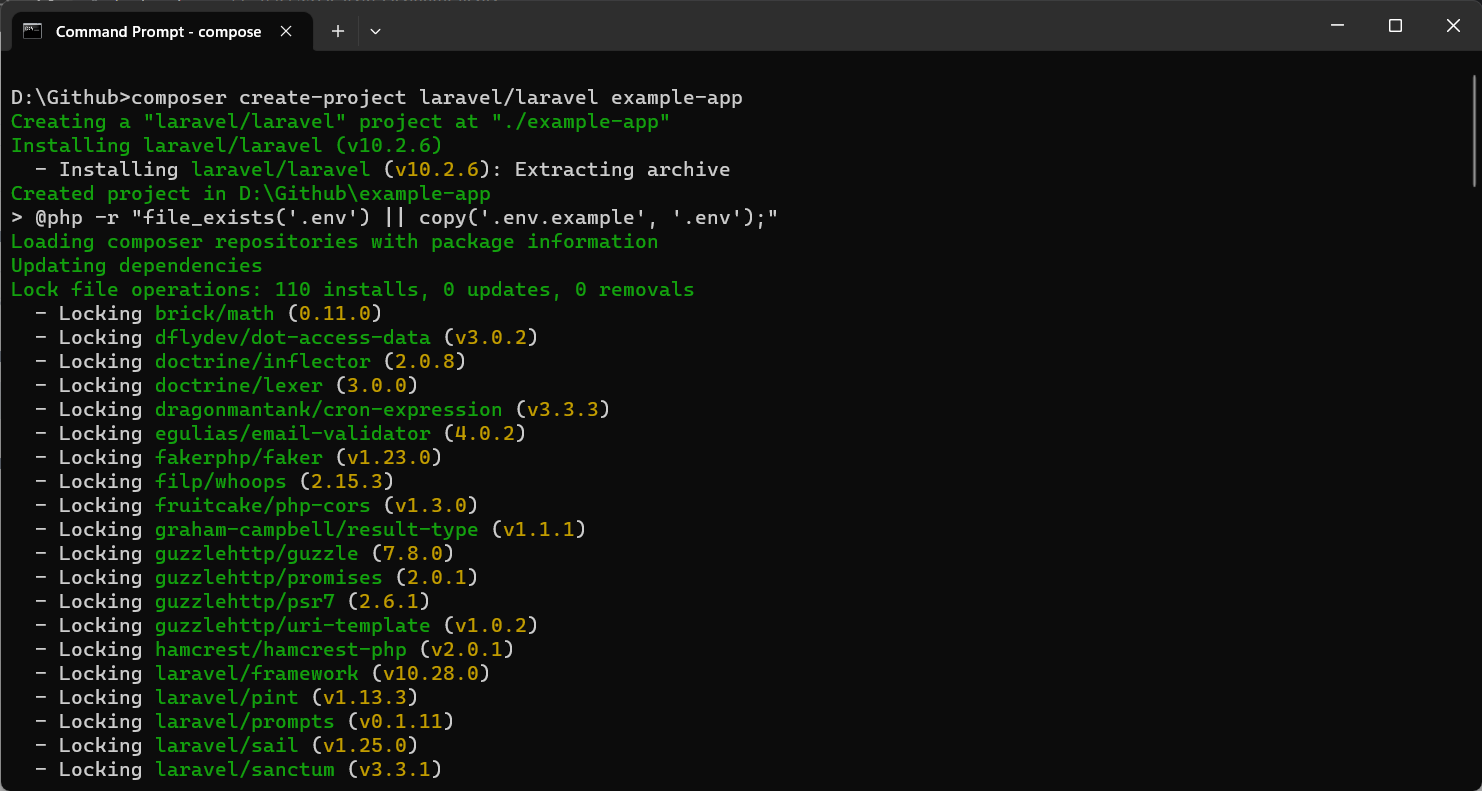
You may create a new Laravel project via the Composer create-project command:
composer create-project laravel/laravel example-app
Or, you may create new Laravel projects by globally installing the Laravel installer via Composer. Or, if you installed PHP and Composer via Laravel Herd, the Laravel installer is already available to you:
composer global require laravel/installer laravel new example-app
After the project has been created, start Laravel's local development server using Laravel's Artisan CLI serve command:
cd example-app
php artisan serve
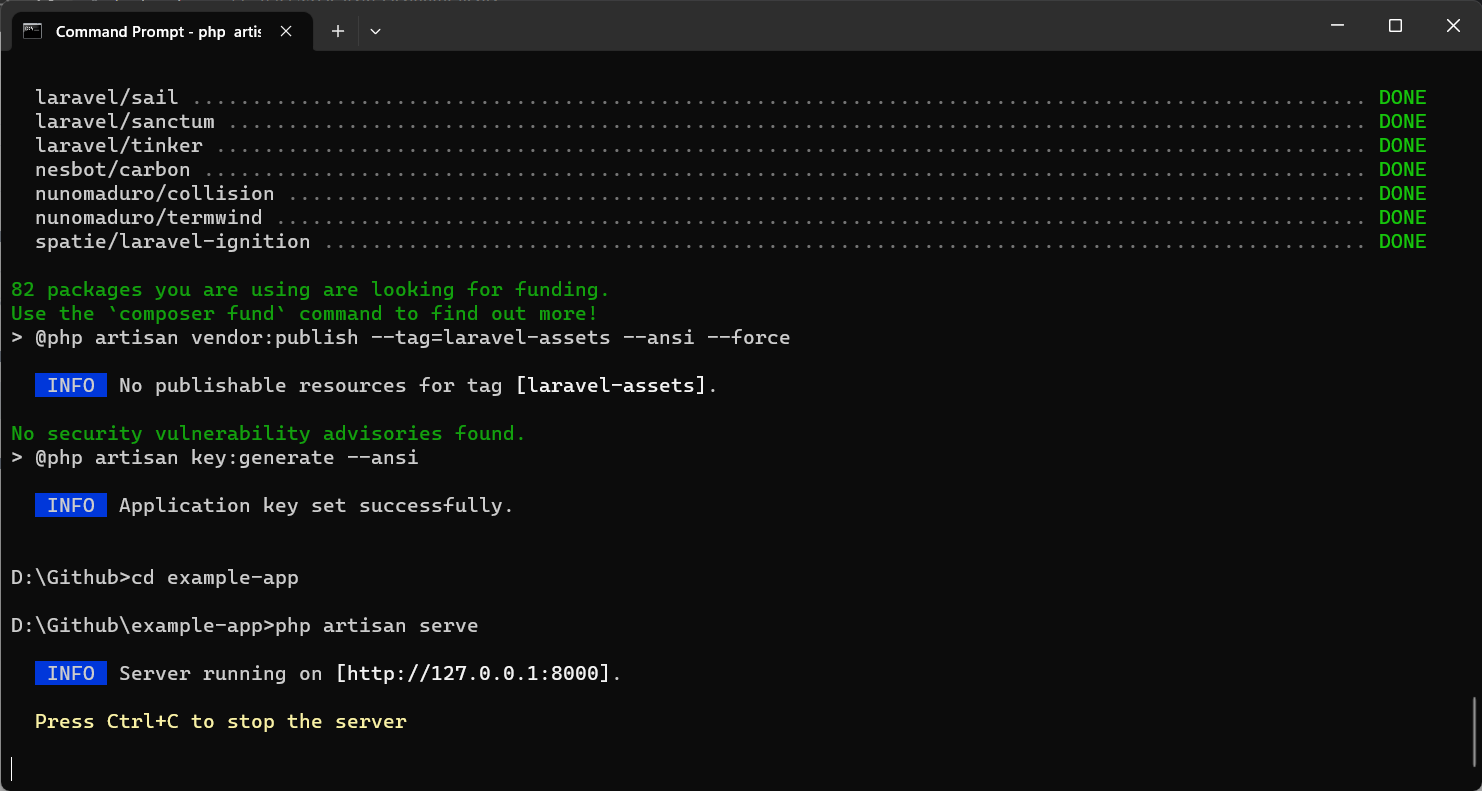
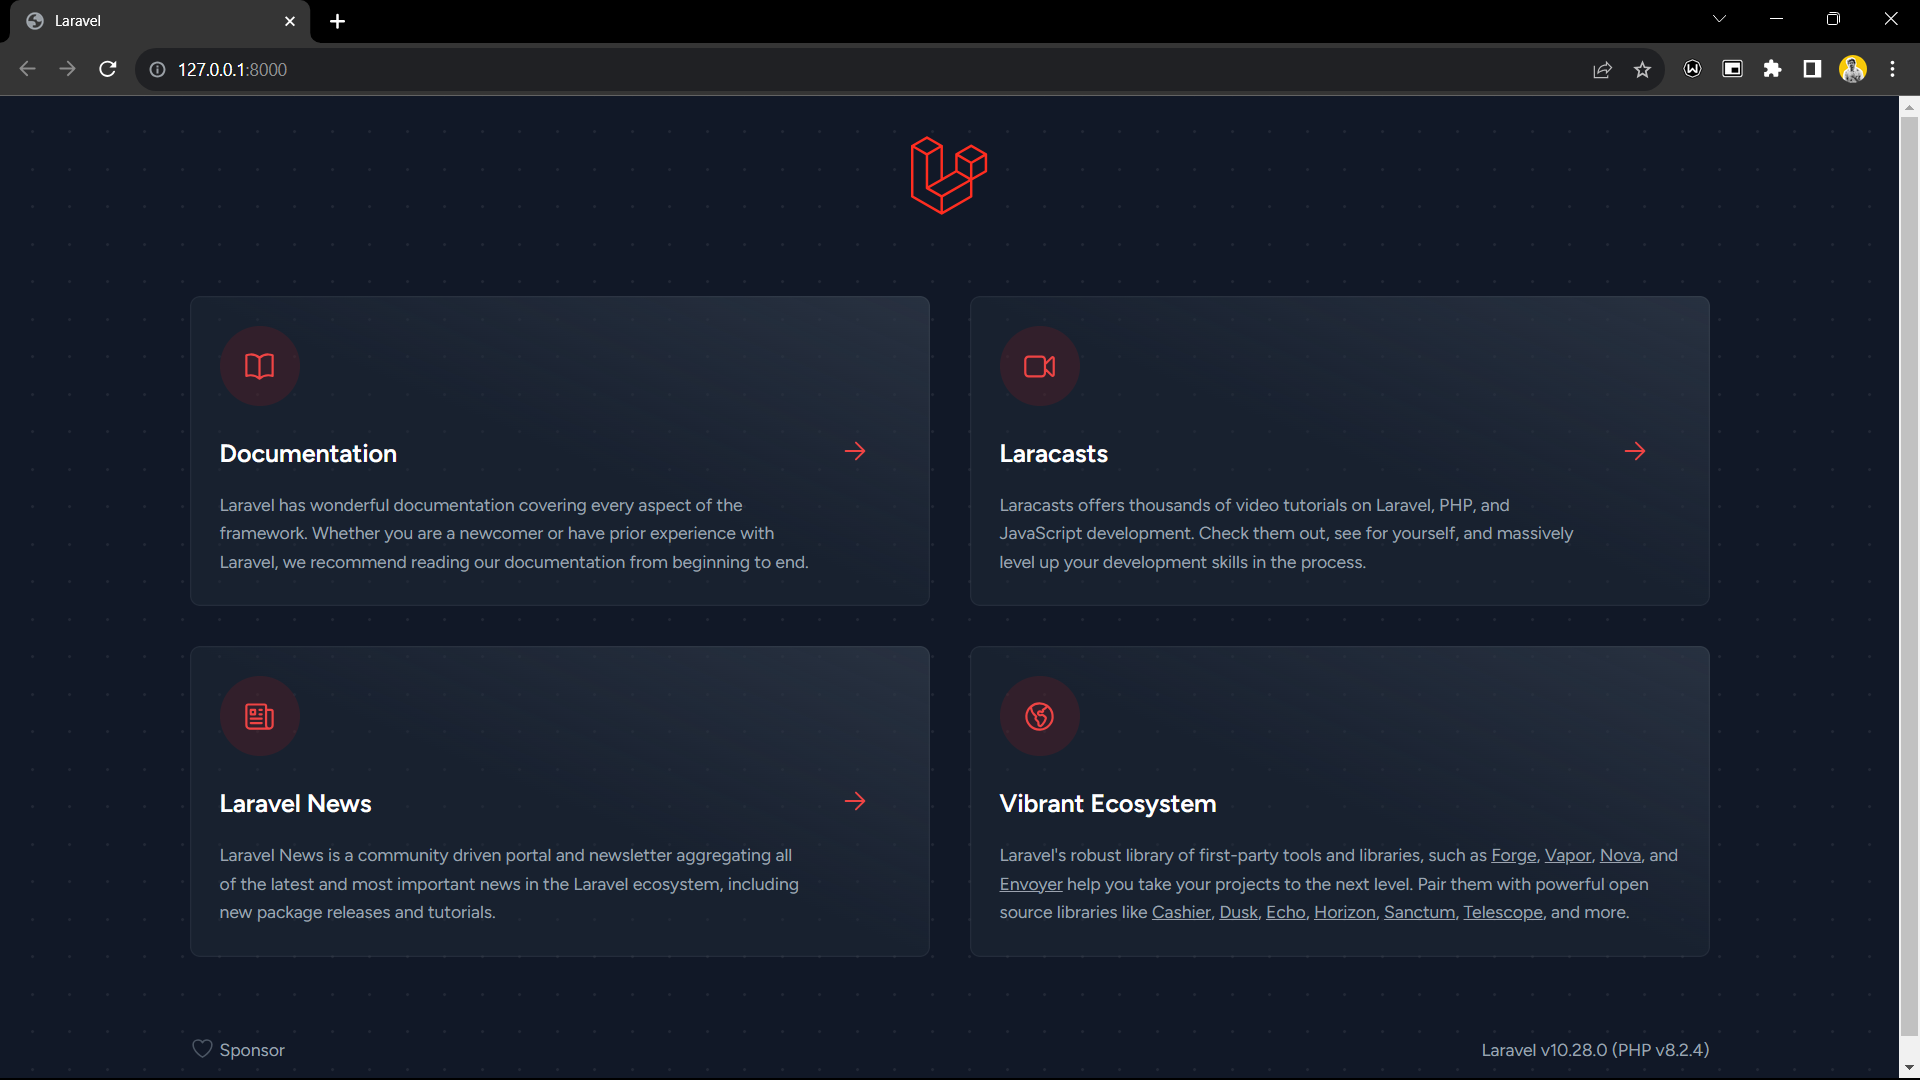
Once you have started the Artisan development server, your application will be accessible in your web browser at http://localhost:8000.
Conclusion
In this tutorial, we've covered the essentials for Windows-based Laravel development. We set up XAMPP, harnessed the power of Composer, and took the first steps with Laravel by creating a simple example app.
Now you're equipped to explore the world of Laravel further. With your example app as a foundation, you're ready to dive into web development and all the exciting possibilities it offers.
Laravel is an amazing tool, and as you continue your journey, you'll find endless resources, a helpful community, and opportunities to enhance your skills. So, take this knowledge, keep coding, and keep building fantastic web applications with Laravel. Your adventure is just beginning, and the web development world is waiting for your creativity and talent!


